Build a Medieval Army Army Commands Guide
Issue charge, defend, and follow orders so your Medieval War Tycoon troops fight with intent.
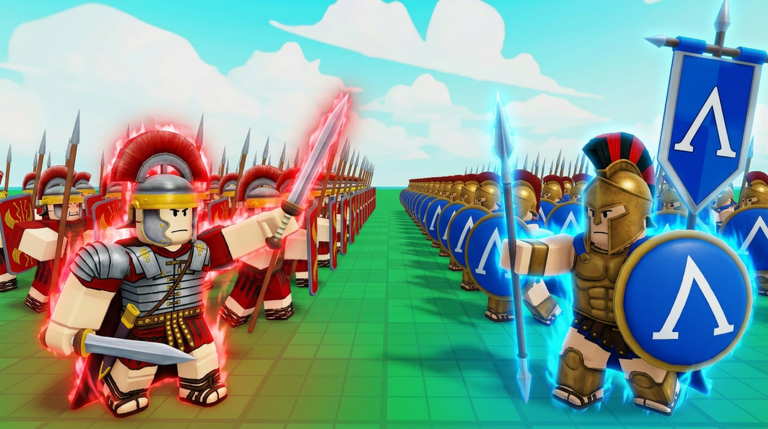
Recruiting an army in Build a Medieval Army (Medieval War Tycoon) is only half the job. The other half is commanding that army so it contests flags, glue-defends your gate, and rotates to the hill without wandering into a meat grinder. This guide explains the practical command mindset—charge, defend, follow, and situational mixes—so your troops express a plan instead of a blob.
For camera, menus, and code entry UI, use Controls Hub. For what to buy, use Troop Tier List and Units roster.
Why commands decide close lobbies
Two players with similar troop counts diverge when one micro-commits and the other AFK-hopes. Commands let you:
- Commit a wave to steal or reclaim a flag (How to Capture Flags).
- Glue a crest hold for +20% income (How to Claim the Hilltop Flag).
- Anchor a gate when reverse raids begin (How to Defend Your Base).
- Escort value home instead of chasing every shiny fight.
If your orders are random, gamepasses and prestige exclusives will still feel “weak.”
Core orders and when to use them
Charge. Best when you need to break a holder, clear a crest, or punish a thin escort. Charge without a follow-up plan often overextends into their entire base. Charge to create a window, then switch posture.
Defend. Best for gate holds, post-take hill glue, and protecting a flag carrier’s corridor. Defend too early in an empty lane and you stall tempo; defend too late and the stash is already gone.
Follow. Best for repositioning the blob with you—moving between home, mid lanes, and hill without scattering. Follow is the “reset formation” button when your army is smeared across the map.
Exact button labels can vary slightly with UI updates; if an icon confuses you after a patch, re-check Updates Hub and Controls. The decision framework above stays stable.
Situational playbooks
Flag steal and return
- Follow to approach as a group.
- Charge to break the immediate defenders around the enemy flag.
- Escort home—keep enough bodies between the carrier path and threats.
- Defend near home if a chase arrives with the return.
Dying mid-return deletes the whole sequence. Read the capture guide for pathing habits.
Hill take and hold
- Follow to stage off-crest.
- Charge to displace the holder.
- Defend to glue the crest once you own it.
- Peel a secondary group home if your gate pings danger.
Long +20% uptime beats heroic triple charges that leave home empty.
Base under siege
- Follow/pull stray troops home.
- Defend chokes and gates.
- Use short charges only to delete isolated raiders, then return to defend.
- Re-expand only after the stash is safe.
Heal Spell, Cloned Troops, Troop BUFF, and heavy soldier passes shine here—see Gamepasses Tier List.
Unlock pacing and levels
Some commands and quality-of-life options feel better as you level. XP/level codes such as morexp52, xpbooster42, and xmaslvls (when active) shorten the wait—verify on the Codes Hub. Double XP can help if your bottleneck is unlock speed rather than raw cash.
Do not postpone learning charge/defend/follow because you are “waiting for max level.” Basics win early pubs.
Composition notes that change order quality
- Assassin-heavy packs love short charges and peels.
- Heavy / Spartan / Legion packs love defend glue and lane ownership.
- Archer Squad / Sky Fort / Catapult packs need space—do not charge them into blobs blindly.
- Giants (Berzerker, Giant ZED) are swing pieces—charge with intent, defend when the swing is over.
- Praetorian (free from ZedCo group) is an early flexible body—claim it via How to Get the Free Praetorian.
Prestige exclusives should inherit the same discipline; a trophy unit on a bad charge is still a donation (Prestige Units).
Practice drills
- Order only drill: For five minutes, change posture only on clear triggers (take, hold, home ping).
- No panic charge: When raided, defend first for twenty seconds before any charge.
- Hill glue: After each take, force a defend window before looking for the next fight.
Private servers are free if you want a calm sandbox—see Private Servers & Lag Tips.
Mistakes
- Permanent charge in every situation.
- Permanent defend while the hill sits free.
- Following yourself into a 1v3 with the whole economy.
- Ignoring codes/Praetorian, then blaming commands for low power.
- Using scripts to “auto command”—ban risk on Scripts Hub.
Related reading
Guides Hub · How to Play · Controls Hub · How to Claim the Hilltop Flag · How to Defend Your Base · Early Game Income
Issue fewer, better orders. Charge to create windows, defend to cash those windows, follow to keep the army a single weapon.
Frequently Asked Questions
Quick answers for Build a Medieval Army players.
What army commands matter most in Build a Medieval Army?
Charge to break holders, defend to glue gates and hills, and follow to reposition as a group. Mix them by situation instead of spamming one order.
Should I charge when stealing flags?
Use charge to create the steal window, then focus on escorting the flag home. A successful return beats a glorious wipe.
What order is best for holding the hill?
After you take the crest, defend to glue it. Charge again only when you must clear a recommit—not as a permanent mode.
Do levels unlock better commands?
Progression can improve access and comfort, but charge/defend/follow basics already win early lobbies. XP codes can speed unlocks when active.
Where can I practice commands safely?
Use a free private server to rehearse postures, then return to public servers for contested reps.